

Image optimization is essential for both user experience and website speed. Converting PNG photos to JPG format is one efficient way to achieve large file size reductions without sacrificing quality. This tutorial examines the advantages of this conversion and offers doable methods for efficiently optimizing your photos.
Why Convert PNG to JPG?
Two popular picture formats, each with their own advantages and best uses, are PNG (Portable Network Graphics) and JPG (Joint Photographic Experts Group). PNGs are ideal for logos, icons, and graphics since they compress pictures without sacrificing transparency, which is why these images work best. They often have bigger file sizes than JPGs, though.
However, photos and graphics with a lot of color and gradients work best as JPGs. They employ lossy compression, which lowers file size by removing a portion of the picture information. The human eye can frequently not detect the compression, especially at lower compression levels, even though it can result in a little loss of quality.
Benefits of PNG to JPG Conversion
- Reduced File Size: Your web pages will load more quickly thanks to JPG compression, which may drastically lower file sizes as compared to PNGs. As quicker loading times may result in fewer bounce rates and more engagement, this is essential for enhancing both SEO and user experience.
- Enhanced Page Speed: A key component of SEO ranking algorithms is faster page loads, which is facilitated by smaller picture sizes. Websites that load quickly are given priority by Google and other search engines, particularly on mobile devices.
- Improved Bandwidth Usage: Your website uses less bandwidth when its file sizes are smaller. This enhances accessibility and user happiness and is especially helpful for those with slower internet connections or data plans that are limited.
How to Convert PNG to JPG
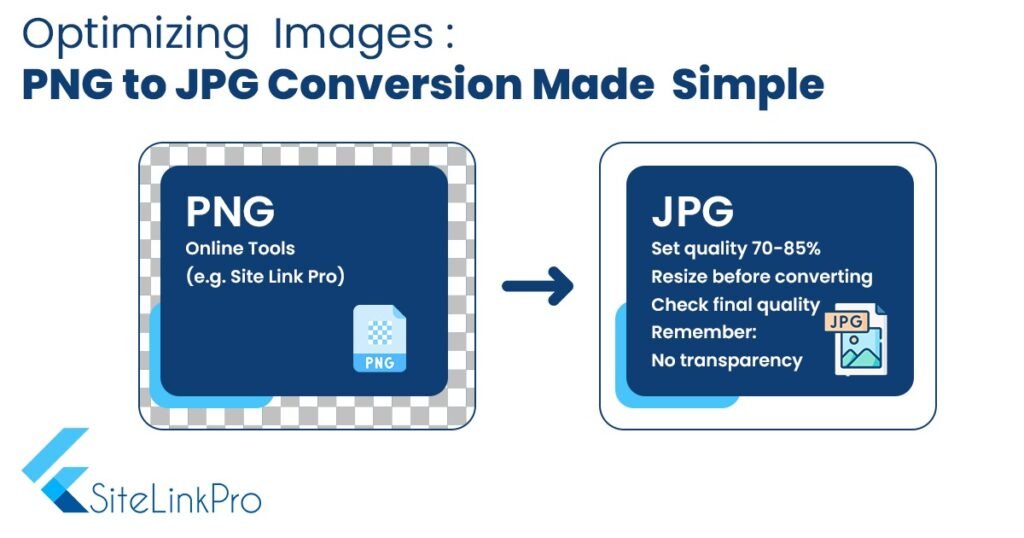
The procedure of converting PNG photos to JPG is simple. Here’s how to go about it:
- Get Your PNG File Opened: Open the PNG file that has to be converted by launching the program of your choice.
- JPG may be selected as the output format by selecting “File” > “Export” or “Save As” in the majority of image editing programs. If needed, change the compression parameters to strike a compromise between the quality of the image and file size.
- Optimize Compression: You frequently have the ability to choose the amount of compression when saving as a JPG. Lower settings sharply reduce file size but may have a minor negative effect on image quality. Try out several configurations until you get the ideal balance for your requirements.
- Save and Replace: After you’re happy with the configurations, save your image as a JPG. Update all references to the new JPG file whenever you replace an old PNG on your website.
Best Practices for Optimizing JPGs
- Resize Images: Before saving as JPG, resize images to their display dimensions on your website. This reduces unnecessary data and further optimizes file size.
- Consider Responsive Images: Implement the <picture> or <img srcset> HTML tags to serve different image sizes based on device resolution, improving performance on mobile devices.
PNG to JPG image optimization is a useful technique to improve user experience and website speed. You can improve SEO results, decrease bounce rates, and boost visitor engagement by lowering file sizes and speeding up load times. Follow these instructions to properly optimize your photos and enjoy the advantages of a quicker, more functional website.
Happy converting!


